


10 Soccer Drills With Cones
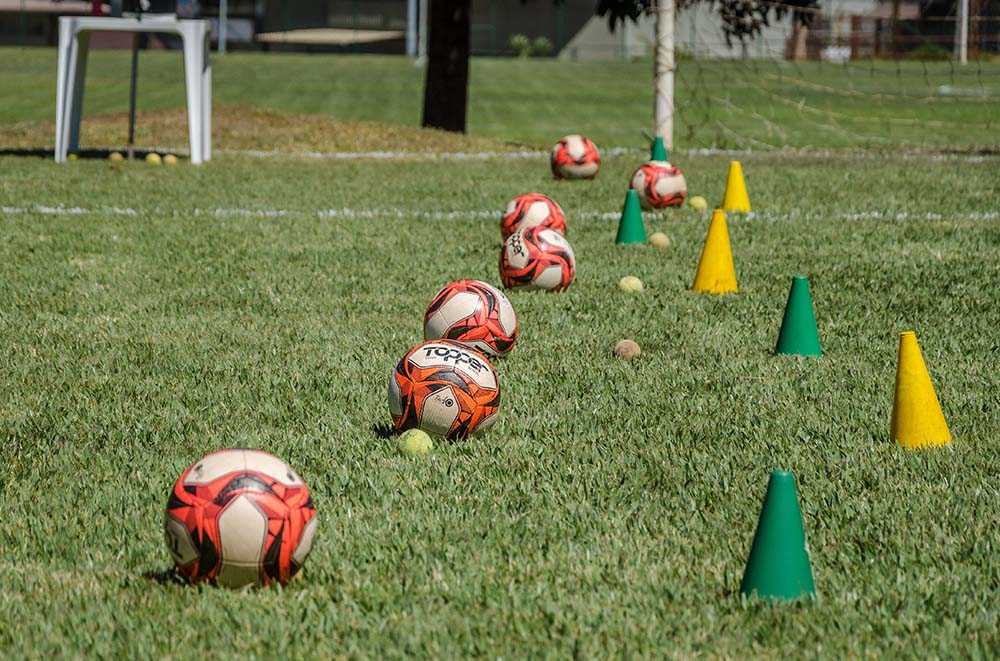
The cone is an inexpensive but invaluable tool for soccer drill training. Not only is it portable but it typically comes in packs of at least 10, which means you can set up courses or have multiple groups working on different drills. Those drills can work on everything from agility and balance to ball control, passing, and shooting.
Below, you will find 10 soccer drills with cones to help hone your skills and improve your soccer game.
1. 10 Cone Drill
The 10-cone drill aims to improve close ball skills. 10 cones are set up in a straight line with a small gap between each. The player works from one end of the line to the other, controlling the ball and playing it between two cones, back to their feet, and then on to the next cone gap. When they reach the end of the line, they come back down the line, so that they get used to working both ways.
2. L Drill
The L drill only needs 3 cones and doesn’t even need a ball. It challenges acceleration, deceleration, and turning. Set the cones up in a large L shape. The player starts at one of the end cones and then sprints to the center cone, runs around it, and slaloms around the final cone, before running back around the middle cone and towards the first one. Encourage a dip of the shoulders around the corners to facilitate a tighter turn.
3. Straight Line Cone Weave
The straight-line cone weave is one of the most commonly practiced cone drills and it teaches control with both feet, improving agility and ball control. Cones are laid out in a straight line and the player has to slalom between the cones, taking as few touches of the ball as possible. The cones can be spread further apart or tighter together to practice different ball control requirements.
4. Zig Zag Slalom
The zig-zag slalom drill uses the same layout of cones as the straight-line cone weave, but it’s a little more structured in its dribbling requirements. Players are taught to use the inside and outside of their feet for both controlling and playing the ball. By working down the line and then back again, it teaches the use of both feet and the inside and outside of both feet.
5. Dribbling Lanes Drill
The fastest route to any particular spot on a soccer pitch is a straight line, but it is surprising how few players can run in a perfectly straight line with the ball. The dribbling lanes drill teaches players to keep the ball arrow straight and at their feet while running between two lines of cones.
As the drill progresses, the player should increase their pace. With the two lines of cones still in place, the straight-line drill can progress to a slalom dribble drill too.
6. Ball Control And Finishing Drill
The ball control and finishing drill teaches ball control by dribbling around a set of four cones while running away from the goal. When the player reaches a group of cones at the end of the slalom, they need to change direction and then shoot towards the far post for finishing practice. With repetition, the player should get faster and everything from the slalom to the turn should become more instinctive.
7. Shuttle Run Drill
The shuttle run trains explosive acceleration. Set out a line of four or five cones. At the start of the drill, the player runs from the first cone to the second, touches the floor by the cone, and then runs back, touching the floor at the start. They then run to the third cone and touch the floor before running back to the start. Keep repeating the process running to the next cones in sequence and then back down the sequence again.
8. Passing With Two Cones Drill
The two-person passing drill uses two cones and involves two players. The first player passes the ball to the second, who receives it with the outstep of their foot. They then dribble it to the outside of the other cone and pass it back to the other player. All touches and passes should be made with the outside of the foot and players should mirror the movement of the other.
9. 1×1 Box Drill
To play the 1×1 box drill, set up four cones in a 1 x 1 yard box. The receiving player should stand in the box and have a playing partner pass the ball with some speed to their feet. The receiving player is allowed one touch to control the ball and keep it within the box. Once the receiver has received the ball, they pass it back to the other player. As the drill progresses, the giving player should speed up the passes to make the drill more challenging.
10. Octagon Passing Drill
Set up eight cones to create an octagon and have the receiving player stand inside the octagon. The other player will pass the ball with pace into the octagon. The receiving player should control the ball with a single touch that takes it through the first two cones, before passing it back to the partner. The passing player will pass it back again, and the receiver should take a single touch to control the ball through the next two cones.
Continue like this until the receiving player has worked through all of the cone pairs.
Soccer Cone Drills – Conclusion
Cones are widely used training aids because they are inexpensive, versatile, and readily available. They can be set up in a huge variety of ways to help teach everything from close ball control to passing and shooting. They can be used by one person or a group of players, and as well as using the 10 cone drills above, you can develop your own to help improve specific aspects of your game.
More Soccer Drills: